
Materials
- Pumpkins
- Pink or white spray paint
- Craft paints (red, sky blue, white, pink, purple, green, yellow, and orange)
- Circular foam brushes
- Black permanent marker
- Hot glue gun
- Scissors
- Tissue festooning (pink or white)
- Circus Animal pumpkin templates
Directions
- Choose pumpkins that have stems matching the animals you need. Like a long twisted one for an elephant’s trunk. No stem for the lion (I used the underside of a pumpkin for that one) and a slightly up pointing one for the rhino.
- Paint your pumpkins pink or white.
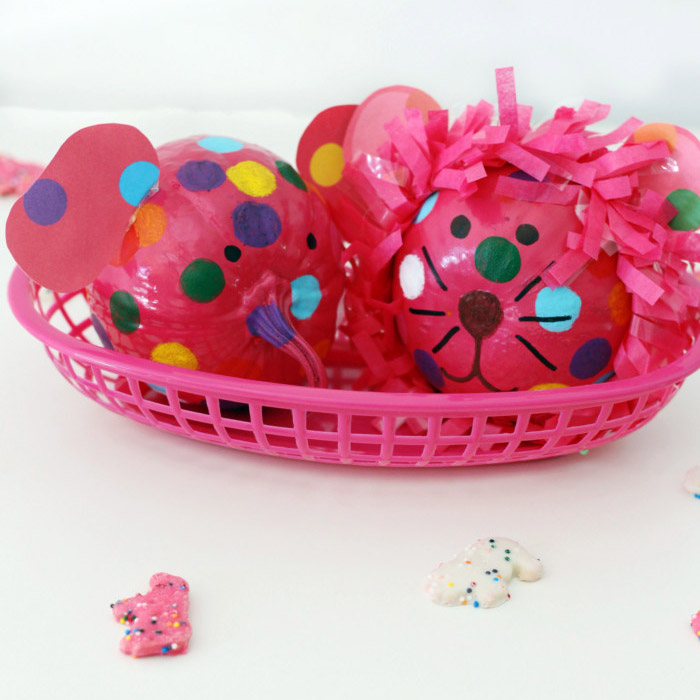
- Draw on little animal faces. I chose a lion, rhino, and elephant but you could choose whatever you wanted! Refer to the pictures to see what to draw.
- Using a circular brush, apply all the various colors of paint in dots all over the pumpkins. Make them look sprinkle-y and not too uniform!
- I found the best way was to press down and twist in a circle then dab the brush a bit. Some of my colors needed second coats that I added with a small paintbrush. I also got all my colors on with just the 3 brushes. I just dabbed them off well onto a piece of paper when I was done with that color and then used colors similar. (For example, one brush did white first, then yellow, then orange. Another did green, blue, then purple.)
- Print out template. I used really small pumpkins, so the template is sized appropriately for that. If you decide to scale up, just be sure to print the file out larger. There should be an option to do this in your print dialog box.
- Cut out the parts you need and attach to your pumpkins with glue. Attach festooning around lion’s head.
*Always have adult supervision when crafting with your kids using a hot glue gun and scissors!


